
Last updated November 15, 2026
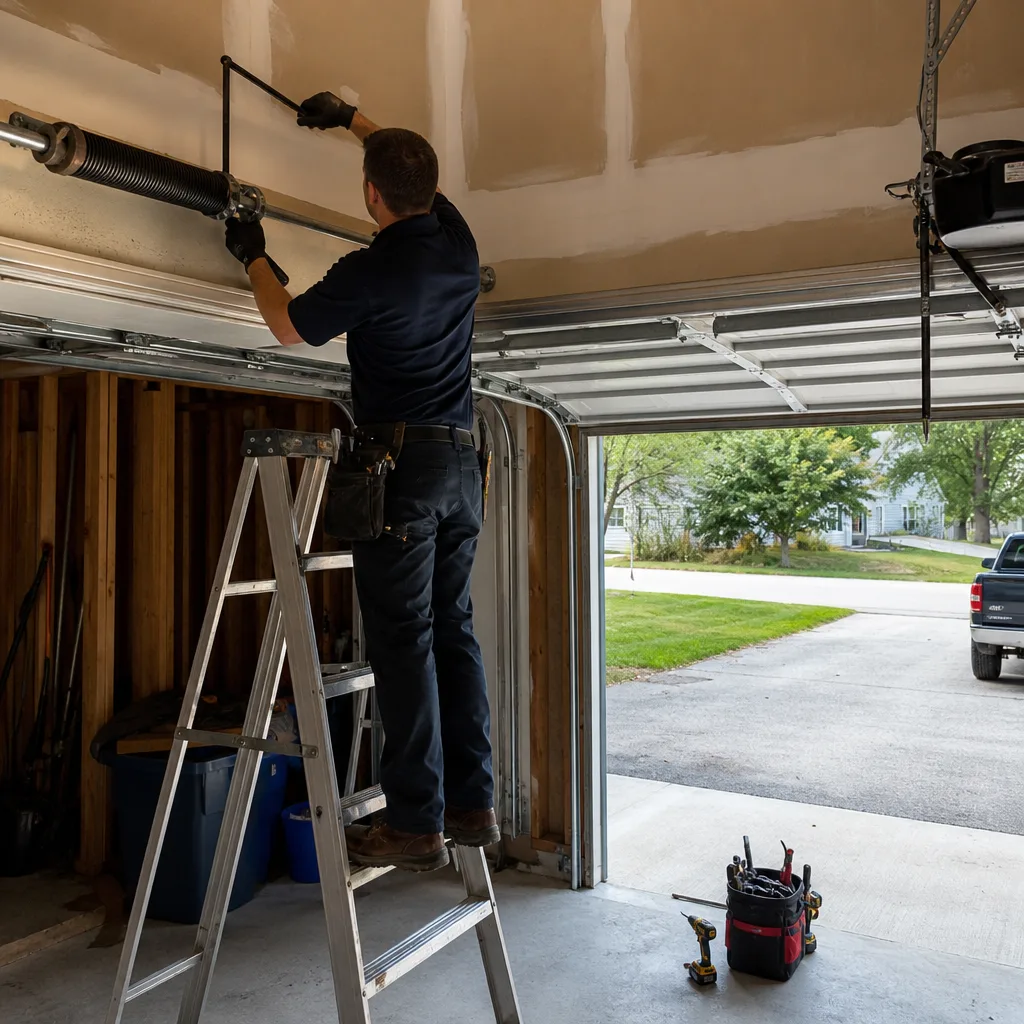
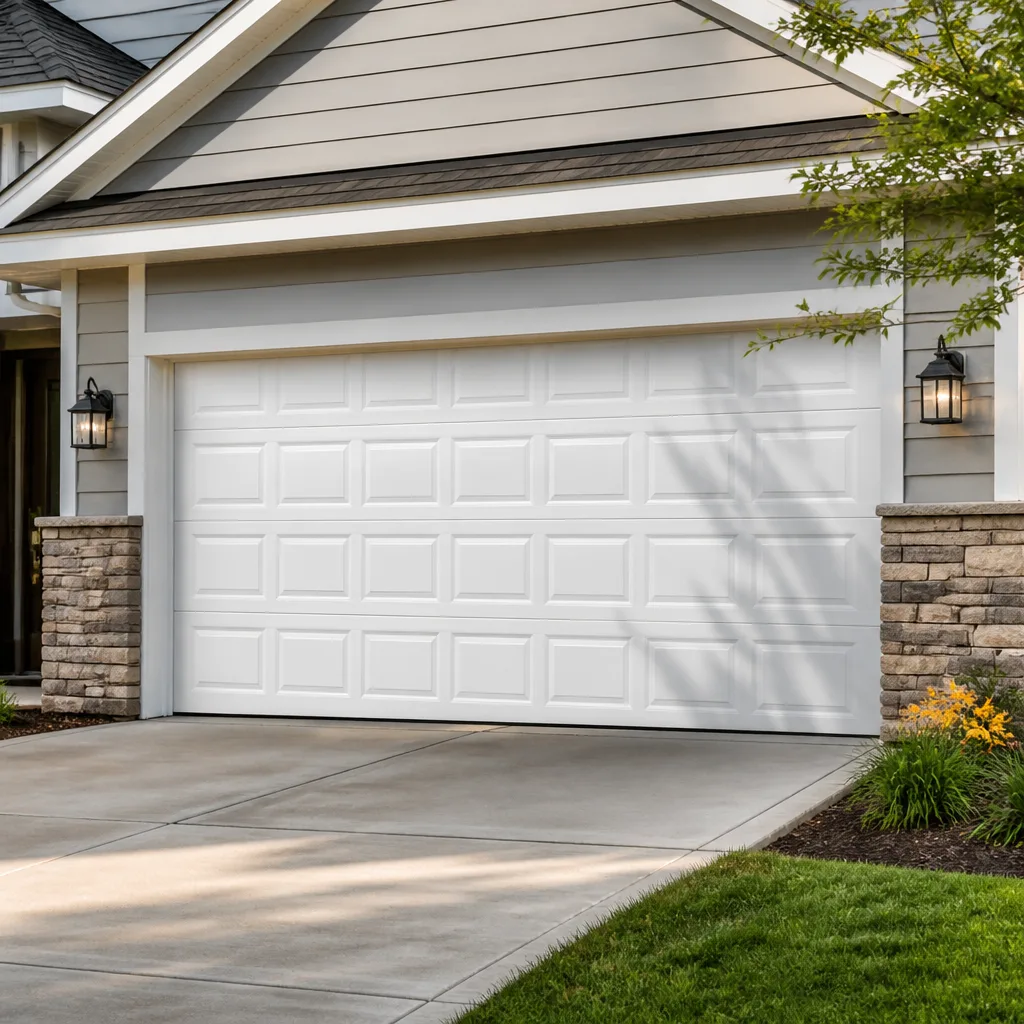 Raised-panel steel
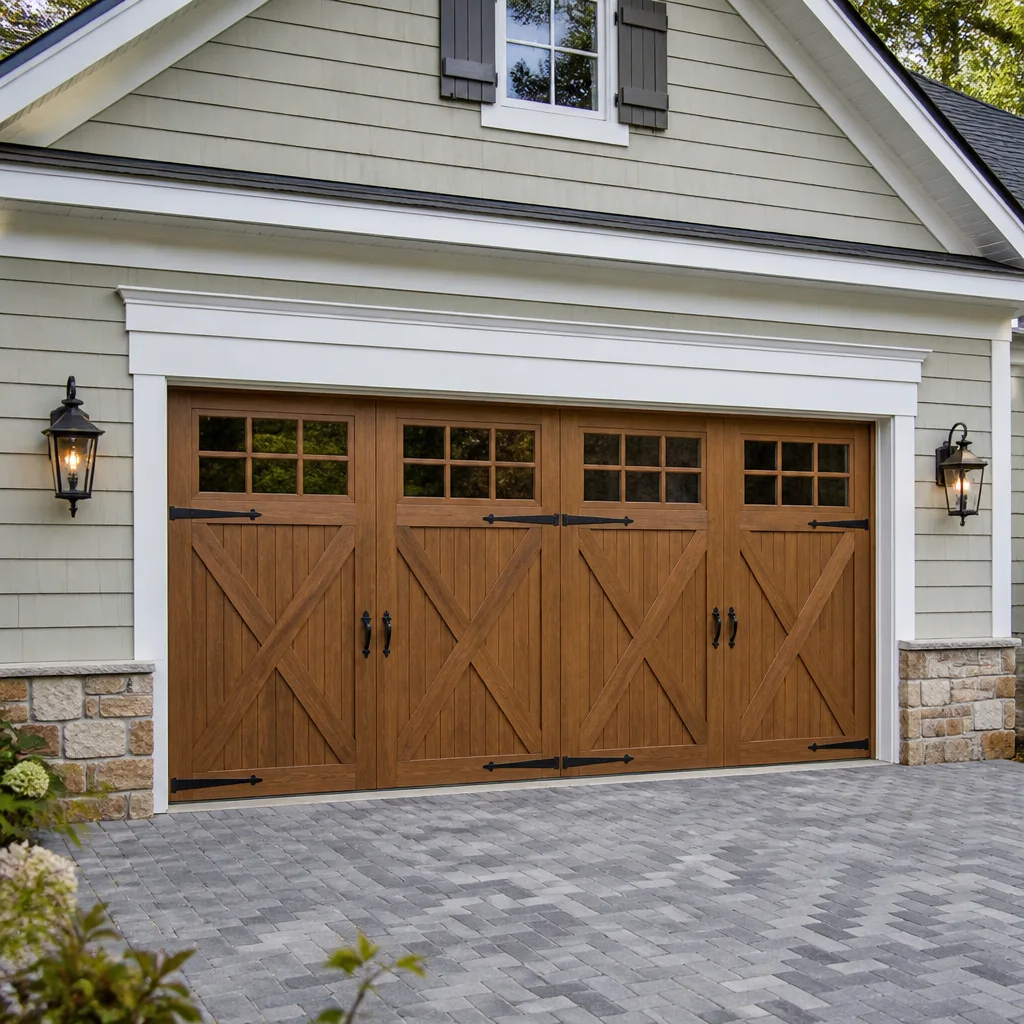 Carriage house
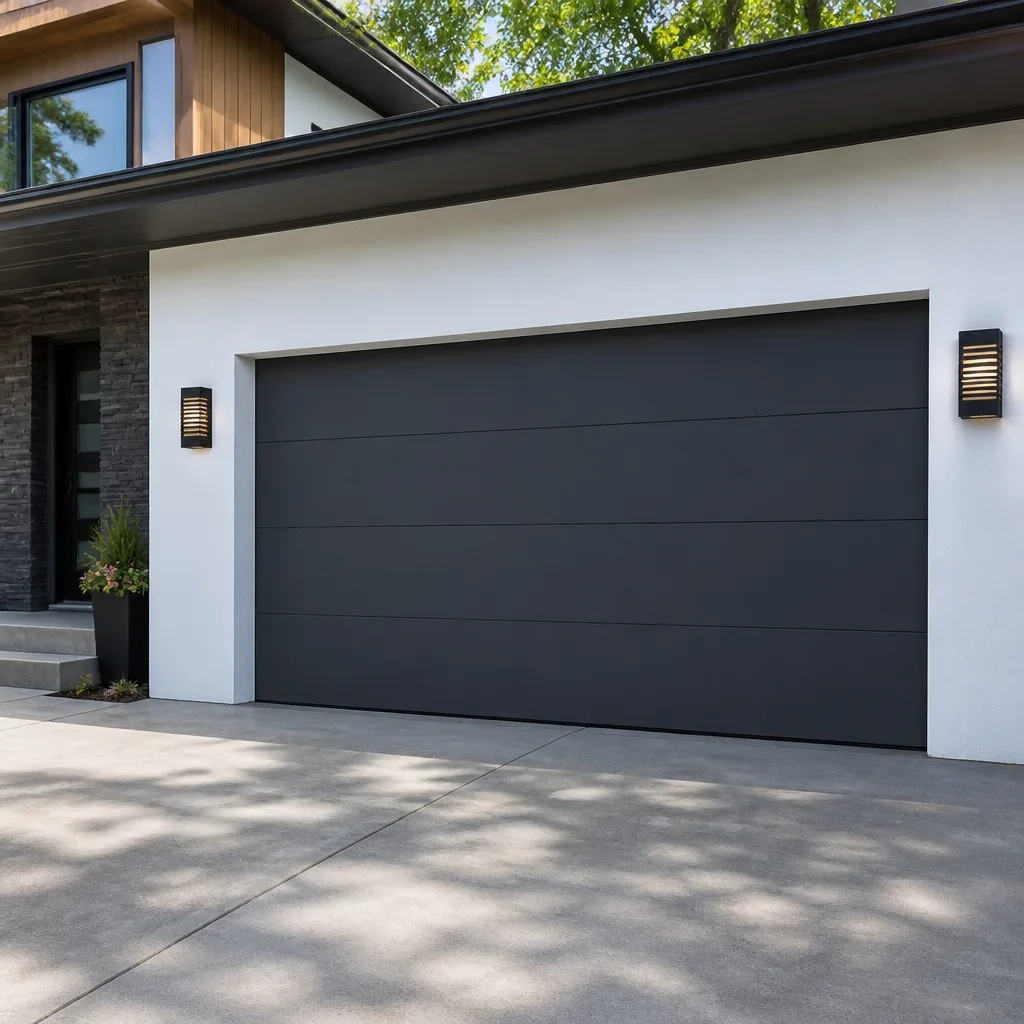 Modern flush
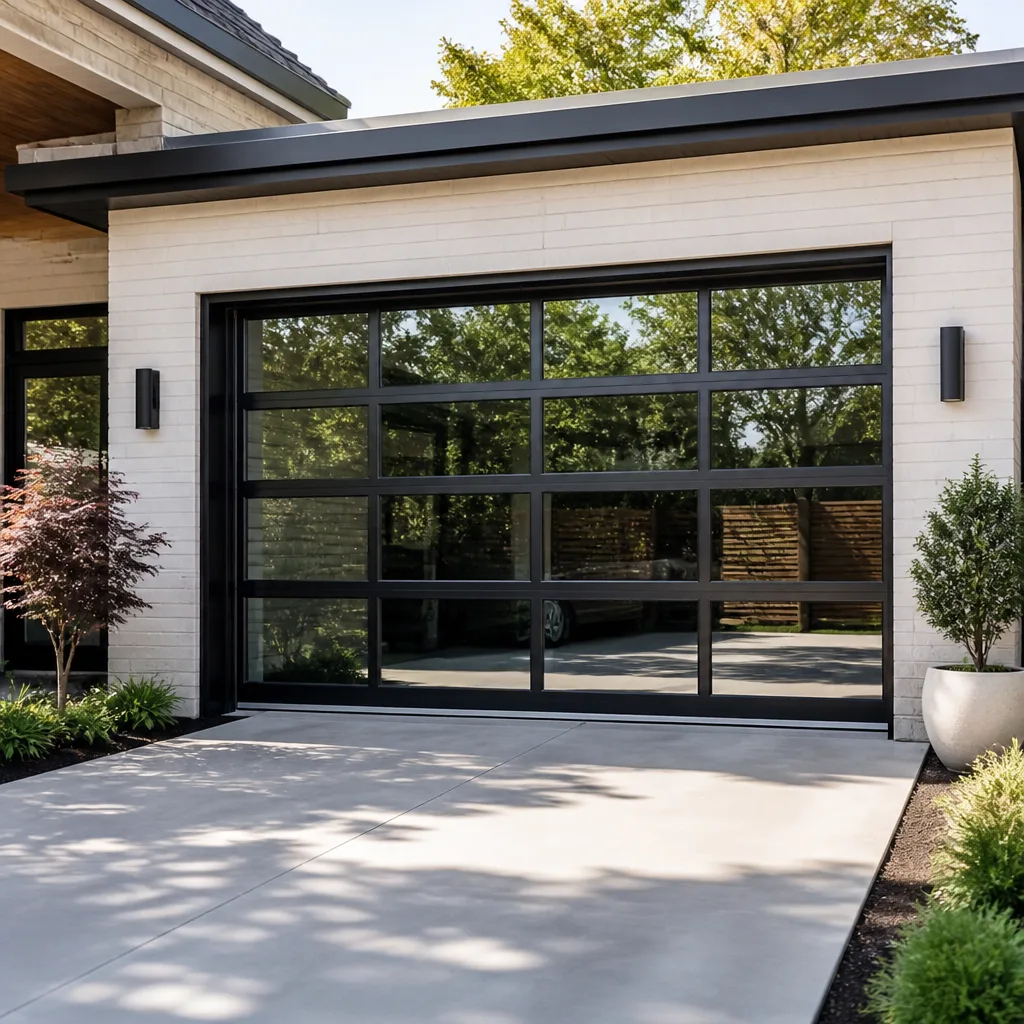 Full-view glass
 LiftMaster openers
 Chamberlain openers
Full 25-point door and opener safety check with every visit - springs, cables, rollers, tracks, and your LiftMaster or Chamberlain opener included
You get a price before we start. It does not change when the pro arrives.
Get your free estimateGarage Door Repair Maintenance Checklist for Manchester Homeowners
Every garage door that finally gives up in February was already telling you it was in trouble in September. If you own a garage in Manchester, the thing that strands you in the driveway on a cold morning is usually not the spring you worried about. It’s the small part you never looked at: a nylon roller that’s been dry and grinding through three winters, a hinge that’s been slowly binding, a weather seal that swelled and froze to the floor.
This guide is a real checklist built around the failures we see most in Manchester homes. It sorts each task by what you can safely do yourself and what needs a trained technician, explains the lubricant mistake that causes the most damage, and shows you what a finished checklist should look like on paper.
Styles & brands we work with
- Raised-panel steel
- Carriage house
- Modern flush
- Full-view glass
- LiftMaster openers
- Chamberlain openers
Quick Answer
A garage door maintenance checklist works best as a twice-yearly routine: a full inspection and balance test before October, before the first freeze, and a lighter check in spring. You can lubricate the moving parts, clean the tracks, and test balance and safety reverse yourself. Springs, cables, panel and track work need a trained technician. In Manchester’s freeze-and-swell winters, the pre-winter check matters more than any other one thing you do.
Table of Contents
- Why Manchester Doors Fail Differently
- The Task-by-Task Checklist, Sorted by Difficulty
- The Lubricant Mistake That Ages a Door Fastest
- What to Inspect Before October, Not After the First Freeze
- How to Do a Balance Test and Force-Resistance Test at Home
- What a Completed Checklist Looks Like on Paper
- Opener Checks Worth Doing Each Season
- Common Mistakes to Avoid
- When to Call a Professional
- Frequently Asked Questions
- The Bottom Line
Why Manchester Doors Fail Differently
Manchester sits in a freeze-and-thaw climate, and that shapes what goes wrong with a garage door. From late fall through early spring, water works its way into seams, behind hinges, and under the bottom seal. When it freezes, it expands. When it thaws, it leaves a gap. Repeat that loop through a New Hampshire winter and the fasteners loosen, the seals stiffen, and the small moving parts that keep a door tracking straight start to wear out of sequence.
The consequences show up in recognizable patterns. The bottom rubber seal freezes to the concrete floor and rips loose the first time the opener lifts the door. Rollers flatten on one side from sitting under constant tension. The tracks pick up grit and frost, and the door starts dragging or rubbing. The hinges dry out and start to groan. None of this is dramatic, but together it puts load on the springs and the opener, and that’s where the emergency call comes from.
Manchester housing adds to it. Many of the city’s older homes sit on narrower lots with detached or tight-attached garages where a door gets regular use from a car going in and out. The North End and other established neighborhoods have a lot of older doors still on their original hardware, where the hinges and rollers are showing their age. Newer construction out toward the edges of the city tends to run on modern openers from brands like LiftMaster or garage door opener repair territory – reliable, but still needing seasonal attention.
Understanding this pattern is the whole point of the checklist that follows. Every item earns its place because it’s something we consistently find worn or neglected in Manchester homes.
The Task-by-Task Checklist, Sorted by Difficulty
A checklist is only useful if you know what you can do safely. Here’s the split we recommend: the easy tasks are yours, and the harder ones need a trained technician.
Easy – Do It Yourself
- Look and listen. With the door closed, walk around it and listen as it opens. Look for uneven travel, jerking, or a door that drifts to one side.
- Lubricate the moving metal parts. Rollers, hinges, and the bearing plates get a garage-door-specific spray. (See the lubricant section below.)
- Wipe the tracks. A damp cloth removes grit, dust, and frost buildup. Never grease the tracks.
- Check the bottom seal. If it’s cracked, torn, or frozen to the floor, it needs replacing before it does more damage.
- Test the safety reverse. Put a roll of paper towels under the door and close it. The door should reverse on contact.
- Balance test and force test. Both are tool-free – steps are in a later section.
- Clear the photo-eye sensors. Wipe the lenses and make sure nothing is stored in their line of sight.
Harder – Needs a Trained Technician
- Springs and cables. These are under extreme tension. A failing spring or a cable that snaps can cause serious injury. Never try to adjust, wind, or remove either one yourself.
- Panel replacement. A bent or cracked panel needs the door’s balance and alignment reset. Get a technician to assess whether the panel can be replaced alone or the door needs more work.
- Track alignment. A track that’s out of plumb or loose at the fasteners affects the entire door. It’s fixable, but it’s not a screwdriver job.
- Opener repairs. Anything beyond a battery change or a remote re-pair belongs with a technician – a misdiagnosed opener problem can mask a door problem.
That division is why it’s worth keeping the two lists separate in your head. Plenty of Manchester homeowners call us because they tried a “harder” task and made it worse. Save yourself the trouble and let the technician handle the parts under tension.
The Lubricant Mistake That Ages a Door Fastest
One of the most common mistakes we see in Manchester is spraying WD-40 on the tracks, rollers, and hinges. It feels right because WD-40 is the can in every homeowner’s toolbox, and it makes the parts move more smoothly for a week or so. The problem is what it does after. WD-40 is a solvent-based product, not a true lubricant. It cuts through grime and displaces moisture, then evaporates. As it works its way out of the moving parts, it takes the door’s factory lubricant with it. The parts end up drier and more exposed than before.
On hinges and rollers, that leads to metal-on-metal wear. The rollers flatten faster, the hinge pins grind, and the whole door starts to sound worse than it did before you touched it. On the tracks, it’s a different problem: the film catches dust and grit, which then packs into the open groove. Multiply that over a Manchester winter with road salt and grit tracked into the garage, and you’ve got an abrasive paste right where the rollers need to glide.
What to use instead
- A garage-door-specific spray lubricant made for hinges and rollers. Look for a lithium- or silicone-based product marketed for the purpose.
- A lithium grease on the hinge pins if the spray is too thin for your climate.
- Nothing at all in the tracks. The tracks should be clean and dry, not lubricated.
- A silicone spray on the bottom rubber seal to keep it from freezing to the floor.
We can’t overstate this: switching from WD-40 to the right product is one of the cheapest changes you can make, and one of the highest return. It’s also why it’s the first thing we check when a Manchester door comes in with prematurely worn rollers.
What to Inspect Before October, Not After the First Freeze
Preventive garage maintenance in a New Hampshire climate comes down to timing. Once the first freeze sets in, some of the most useful inspections become harder because the parts are stiff, the ground is frozen, and the door is being used more heavily. The right window is late September through mid-October, before the first sustained cold snap.
Components that take the most abuse over winter
- The bottom weather seal. The most vulnerable part on the door. Freeze and thaw cycles harden the rubber. If it’s already cracked in September, it will fail in December.
- Rollers and hinges. Temperature drops thicken the lubricant and the metal contracts. Worn rollers start jumping the track. Worn hinges squeal. Both are cheap to replace in October and expensive to fix in February.
- Springs. Cold metal is more brittle. A spring that’s near the end of its service life is more likely to snap on the coldest morning of the year. A technician can measure spring tension before that happens.
- Cables. Look for fraying, kinks, or slack. Do not touch them yourself, but do look and report.
- The photo-eye sensors. Snow, frost, and salt can cloud the lenses. If they don’t see each other, the door won’t close reliably.
- The opener. Cold thickens the lubricant in the opener’s gearing and slows the motor. If the motor is already straining, it will struggle more in January. Have it checked in the fall.
What “before October” actually looks like
Ideally you get a technician out once in late September or early October for a full inspection, and you handle the DIY parts on your own afterward. This is also when it’s easiest to book a replacement part or a door panel if the door needs it – parts are easier to source before the cold-weather rush, and the door is easier to work on when it’s not frozen.
This pre-winter inspection is the one piece of maintenance we’d tell every Manchester homeowner to prioritize over anything else. It’s the difference between a routine October visit and a February emergency.
How to Do a Balance Test and Force-Resistance Test at Home
These two tests tell you more about the health of your door than any visual inspection. Both are tool-free. Both take about five minutes. The first needs a bit of muscle and attention, so read the safety note before you start.
Safety first
Do not perform these tests if the door is noticeably damaged, off-track, or making a loud popping noise when it opens. Do them only on a door that moves smoothly. And never put your hands or body under a door supported by the opener alone.
Balance test
- Close the door fully. Disconnect the opener by pulling the release handle – the door is now on manual.
- Lift the door by hand about halfway up and stop.
- Let go. It should hold in place, or drift only slightly. It should not fall, and it should not lift itself.
- Open it fully, then close it by hand. It should feel steady on the way down.
- If the door falls, or springs up, or feels heavy on the way down, the springs or balance are off. That’s a technician call.
Force-resistance test
- Reconnect the opener by pushing the door back to the closed position and pulling the release handle back in.
- Put a roll of paper towels, or a flat board, under the middle of the door.
- Close the door using the wall control.
- The door should reverse on contact with the obstacle. If it presses down and stops without reversing, the opener’s safety reverse isn’t working.
- Check the photo-eye sensors separately by blocking the beam with your leg as the door closes. The door should reverse.
If either test fails, stop using the door and call a technician. A door that won’t reverse is a genuine safety problem. A door that’s out of balance will wear out its opener and its springs faster than necessary.
What a Completed Checklist Looks Like on Paper
Most garage door maintenance checklists are just bullet points. Ours is designed to be filled in. Print one out, keep it in the garage, and pencil in the answers. A completed checklist gives you a record of what was checked, when, and what needs attention.
Layout for a printable checklist
The printable version should have four columns and room for a note:
- Item – the name of the task (e.g., “Rollers” or “Bottom seal”).
- Date checked – the day you did it.
- Pass / Fail – a check in one box or the other.
- Action needed – a short note if it’s a fail (e.g., “Replace 2 rollers, right side”).
- Notes – anything you want to remember, like “sounds louder on one side.”
How to use the completed form
Two things make the paper format genuinely useful. First, the record. Six months later, seeing “fail” marked on the seal, then replaced, tells you the door’s history at a glance. Second, it makes handing off to a technician easier. When you call a technician in Manchester, being able to say “the seal failed my last check and the roller on the left side still feels rough” saves time and leads to a more accurate first visit.
If you’d like a copy of our fill-in-the-blank checklist, just ask when you call. We send it out with our repair estimates. It’s not a sales tool – it’s the same checklist our technicians work from on a service visit.
Opener Checks Worth Doing Each Season
The door is only half of the system. The opener does the lifting, and it needs its own checks. The two seasonal checks below are worth everyone’s time. Anything beyond that goes to a technician, because a misdiagnosed opener can hide a door problem that’s making the opener strain.
Seasonal opener checks
- Test the remotes. Replace the batteries before they die. Test from inside the garage and outside so you know the range is fine.
- Check the wall control. Make sure the button responds cleanly and the wiring to it isn’t loose.
- Listen for strain. If the motor sounds like it’s working harder than it used to, the door’s balance is probably off. Have a technician check both.
- Test the safety reverse. Covered in the test section above – run it once each season.
- If your opener has a smart feature, test the app. LiftMaster’s MyQ and Chamberlain’s smart features can drop their connection. Reconnecting isn’t a repair, but it’s worth checking before the season changes.
Openers from LiftMaster and Chamberlain are the most common in Manchester homes we see, but Genie and Craftsman models still show up regularly. Each brand has its own quirks. A technician who works on your actual brand rather than a generic approximation will diagnose the problem correctly the first time. That’s the difference between a repair and a guess. If your opener needs attention, our opener specialists in Manchester handle all of these brands.
Common Mistakes to Avoid
- Lubricating the tracks. The tracks should be clean and dry. Lubricant on the tracks collects grit and turns into an abrasive paste. Wipe them with a damp cloth instead. This is the mistake we correct most often on Manchester service calls.
- Using WD-40 as a lubricant. It’s a solvent, not a lubricant. It strips the factory lubrication out of the moving parts and leaves them drier. Use a garage-door-specific spray instead.
- Skipping the fall inspection. In a New Hampshire climate, September checks prevent February calls. A door that’s fine in July can fail in January if the seal and rollers aren’t checked.
- Adjusting the springs yourself. This is the one task worth an explicit warning. Springs are under extreme tension. Never adjust, wind, or remove them yourself. This is a genuine injury risk, not a cautious recommendation.
- Ignoring a slow balance test. A door that feels heavy on the way down will wear out its opener and springs faster. Get it checked before it becomes an emergency.
- Patching a failing panel. A cracked or dented panel isn’t just cosmetic. It can affect the door’s alignment and balance. A technician should assess whether it needs replacement.
- Skipping the paper record. Without a record, you don’t know what was checked last fall or what failed. A simple pass/fail form turns a chore into a history.
When to Call a Professional
Some situations need a trained technician, full stop. If a spring snaps, a cable breaks, or the door comes off its track, don’t attempt a repair or force it. If the door won’t reverse on contact with an obstacle, stop using it until it’s checked. If a balance test shows the door falling or springing up, it’s out of balance. If you’re hearing a loud pop, grinding, or a scraping sound that’s new, have it diagnosed before it gets worse. And if a panel is cracked, a hinge is rusted through, or a track is bent, get a professional opinion.
We can’t overstate the difference between a technician who works on your brand and one who guesses. The right fix starts with the right diagnosis. We’re a residential specialist covering three services: garage door repair, opener repair, and installation. We work on your brand across eight of the most widely installed names in residential garages – LiftMaster, Chamberlain, Genie, Clopay, Amarr, Wayne Dalton, Craftsman, and Raynor – and we handle all three services in-house, so you don’t have to juggle contractors. If you’re ready to get your door back to working the way it should, Radiant Garage Door Repair offers free estimates in Manchester – call (888) 459-1302. We answer 24/7. Fast dispatch from 7am to 7pm, Sunday through Friday.
Frequently Asked Questions
Twice a year: a full inspection and balance test before October (before the first freeze), and a lighter check in spring. In Manchester’s freeze-and-thaw climate, the pre-winter inspection matters most. Year-round, keep up the basic DIY checks – the door will last longer and run quieter.
Yes, on some doors, if you’re careful and the door is balanced. Rollers are safer to replace than springs or cables, but the door must be in the fully closed position and the tension properly off. If you’re unsure, that’s the sign to call a technician.
No, not for the rollers, hinges, or tracks. WD-40 is a solvent and displaces moisture, but it’s not a real lubricant – it strips the factory lubricant out of the moving parts. Use a garage-door-specific lubricant on hinges and rollers, and keep the tracks clean and dry. This is one of the most common mistakes homeowners make.
Don’t force the opener. It will strain the motor and could damage the door. Inspect the bottom seal: if it’s frozen to the concrete, break that grip by hand if you can safely, then use a heat gun from a safe distance on the rubber. If the freeze is in the tracks or hinges, wait for warmer temperatures or call a technician. Never pry at parts that are under tension.
Watch for a door that feels heavy on the way up, a balance test where the door falls instead of holding, or a loud snap. If the door is heavy or unbalanced, don’t keep using it – the opener will strain, and the problem can get worse quickly. A technician can measure spring tension and replace the springs if needed. Springs are a tech-only job.
No, you can do the balance test yourself, and the guide above walks you through it. What you should not do is attempt to fix a balance problem on your own. Springs are under extreme tension. If your balance test fails, call a technician – a failing balance is exactly the reason to stop using the door until it’s checked. You can also ask your technician to run the same test as part of a service visit. Call (888) 459-1302 for a free estimate. We answer 24/7. Fast dispatch from 7am to 7pm, Sunday through Friday.
The Bottom Line
A maintenance checklist isn’t a generic 10-point list – it’s a schedule built around what actually fails where you live. In Manchester, that means a strong pre-winter inspection, protecting your moving parts from the wrong lubricant, and staying on top of the small components that put load on the big ones. The easy tasks are yours. The harder ones – springs, cables, track work, opener repairs – need a trained technician. If you follow the checklist and call a technician when it says to, you’ll spend less money and end up with a door that works the way it should.
If you’re ready to hand off the harder tasks, or just want a trained eye on your door before winter, Radiant Garage Door Repair handles garage door repair in Manchester and across the region. We install and repair products from Clopay, Amarr, Wayne Dalton, and Raynor, and we service openers from LiftMaster, Chamberlain, Genie, and Craftsman – the brands your door actually uses. If you’d like to start with a free estimate, call (888) 459-1302. We answer 24/7. Fast dispatch from 7am to 7pm, Sunday through Friday. Your door, your opener, our specialty.
Written by the team at Radiant Garage Door Repair.
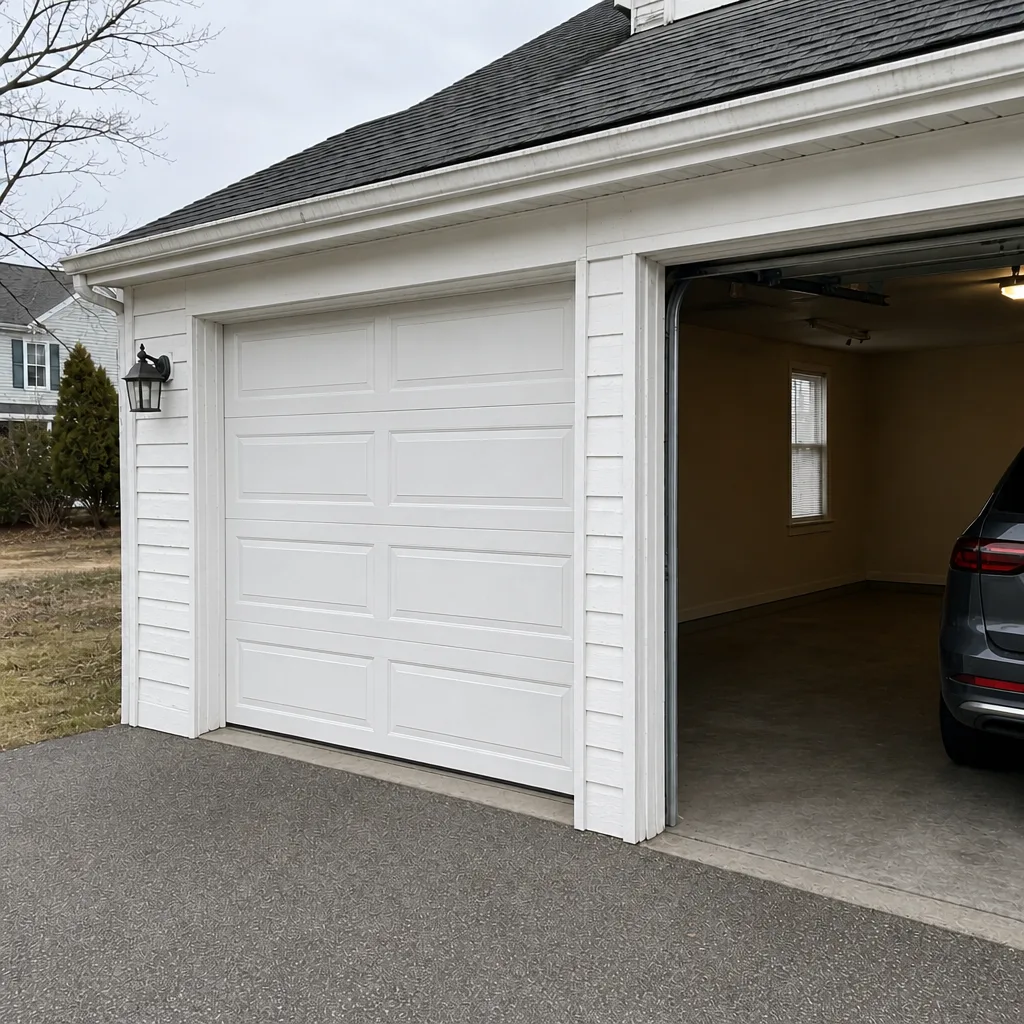
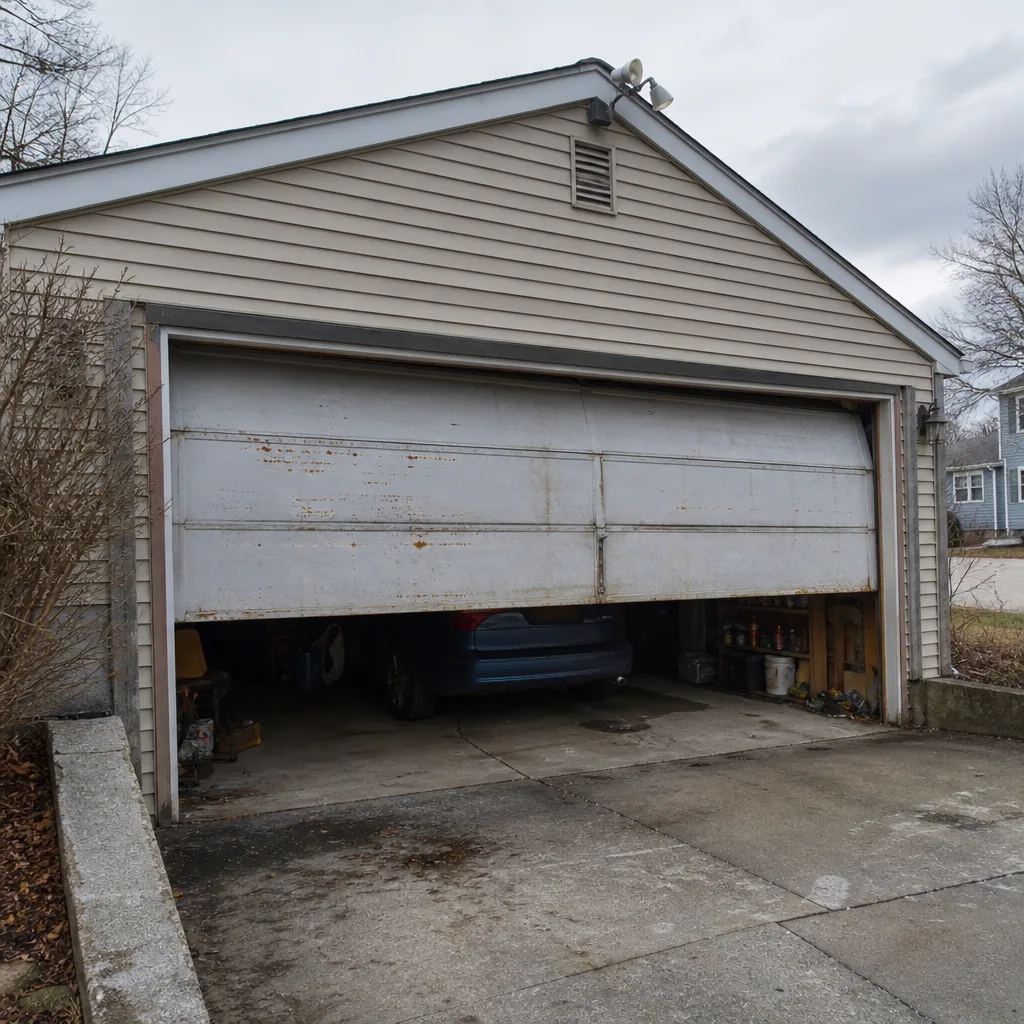
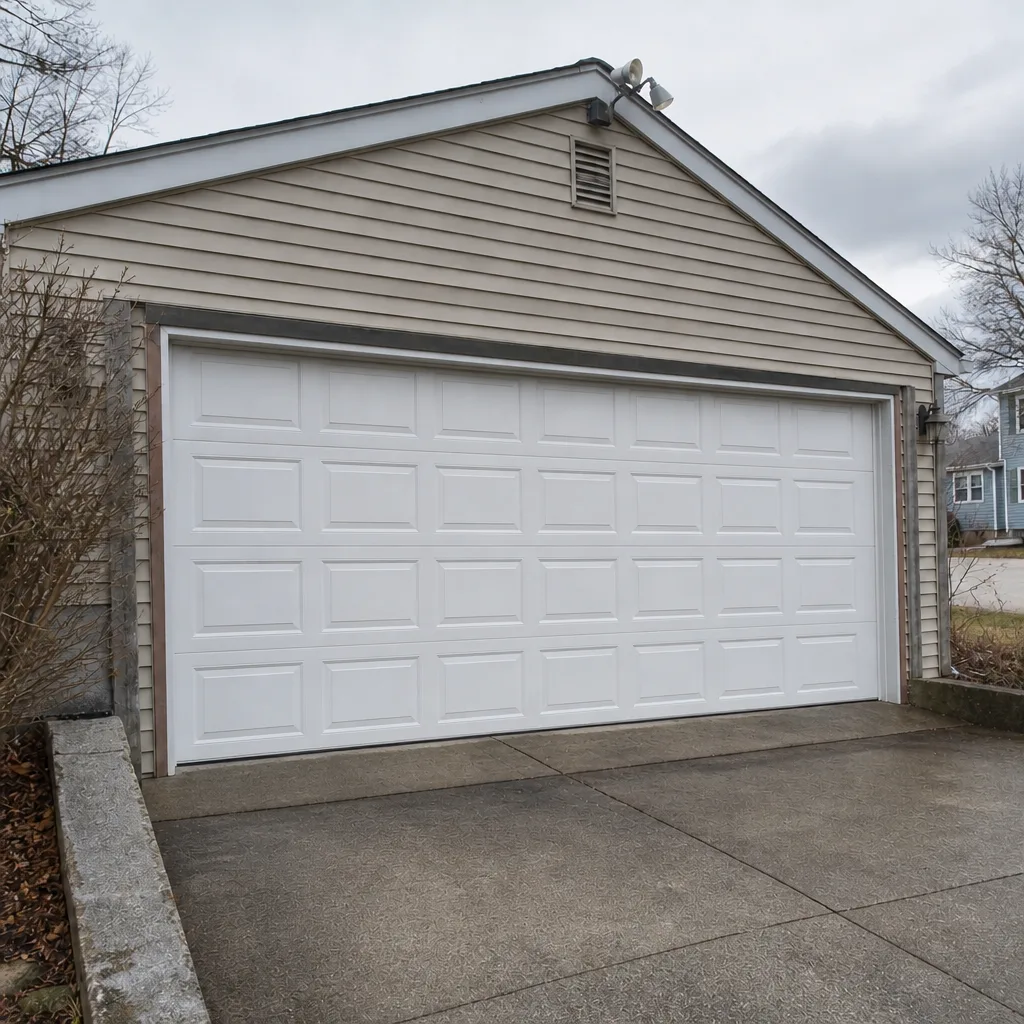
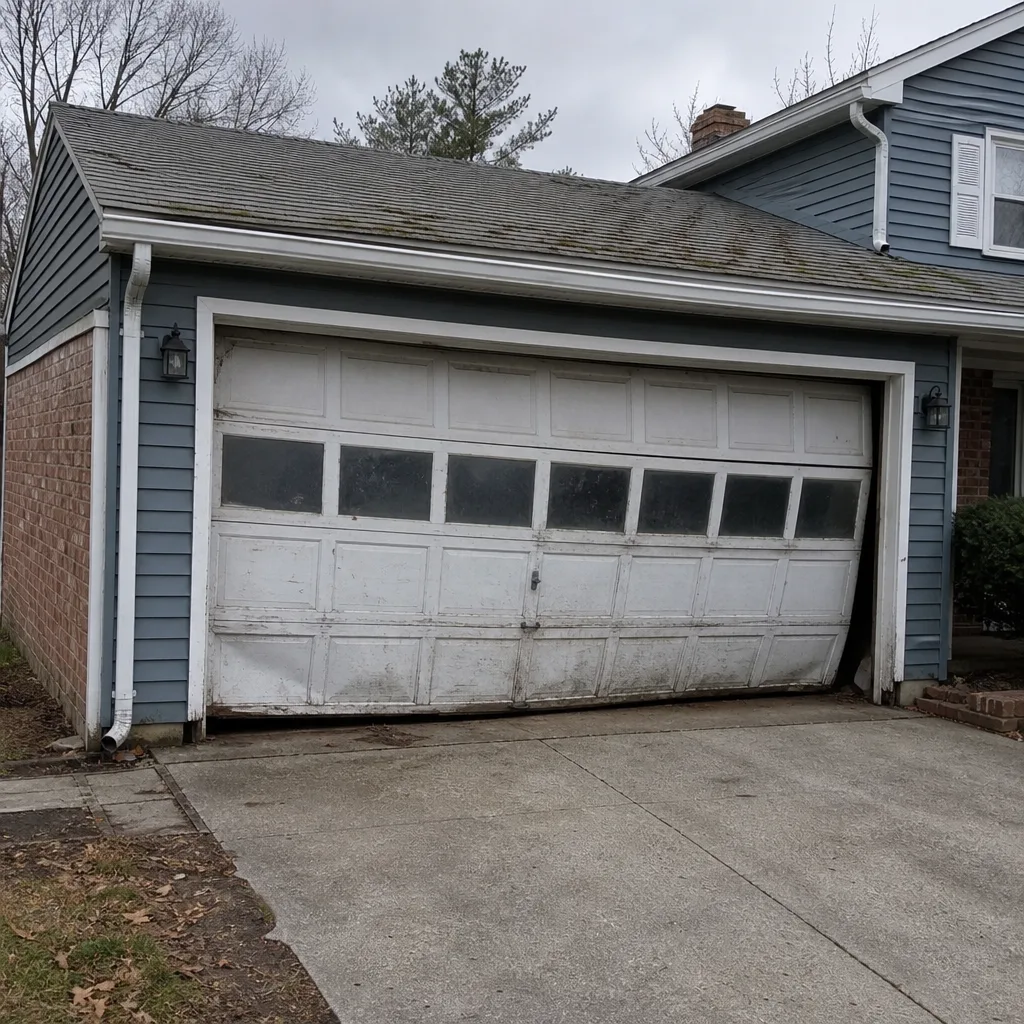
See the difference
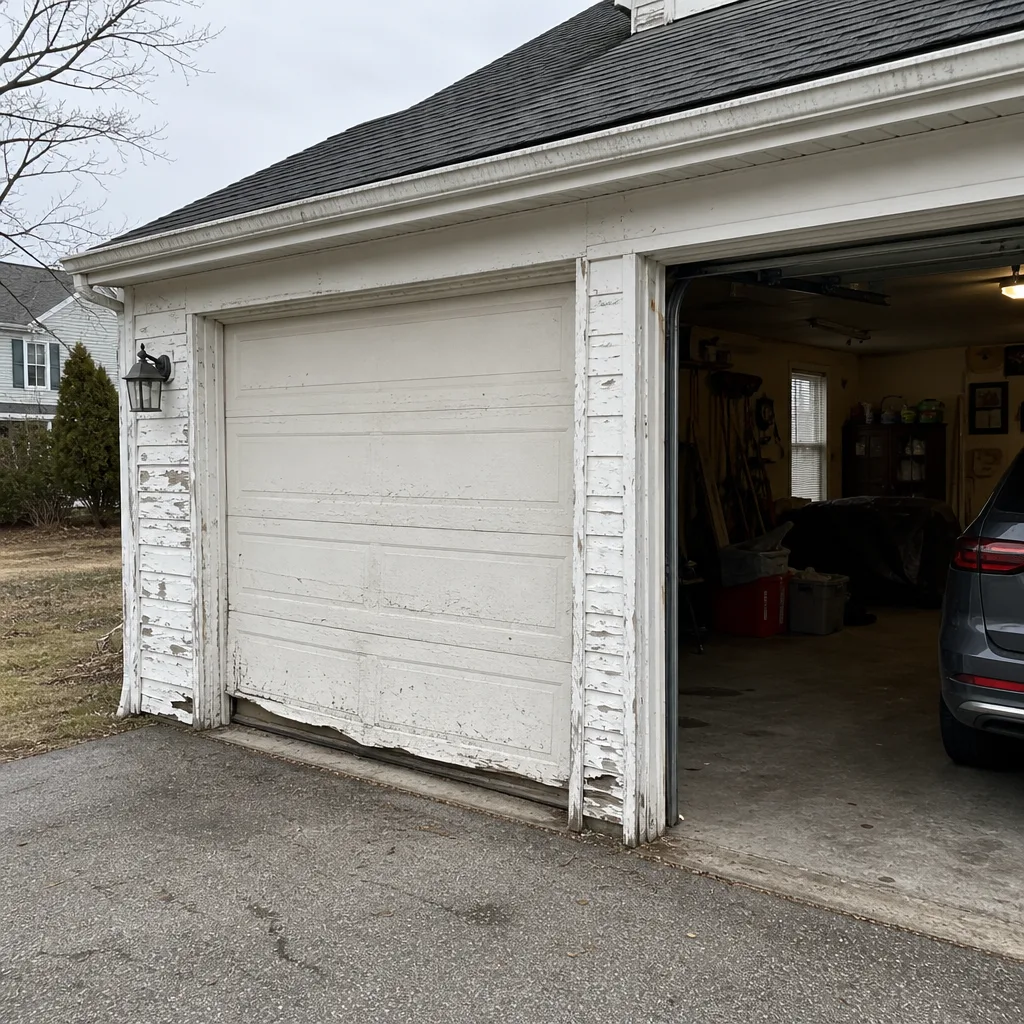 Before
 After
 Before
 After
 Before
 After